5 Essential Crane Safety Tips for Construction Sites

Cranes are powerful but dangerous machines, and without proper safety measures, they can lead to accidents, injuries, or even fatalities. Here are five key safety practices to follow on construction sites:
- Inspect Daily: Check the crane, controls, and ground conditions before every shift. Look for wear, damage, or instability.
- Avoid Electrical Hazards: Maintain safe distances from power lines, using spotters and warning barriers to reduce risks.
- Use Proper Rigging: Stay within load limits and inspect rigging equipment for damage before every lift.
- Set Exclusion Zones: Mark and secure areas around the crane’s swing radius to protect workers.
- Rely on Qualified Personnel: Ensure operators and riggers have proper certifications and conduct pre-lift meetings to plan for safety.
These steps can prevent accidents, protect workers, and keep your projects on track. Safety starts with preparation and ends with vigilance.
Crane Inspection Quick Tips | Based on OSHA Data

1. Complete Daily Inspections and Check Ground Conditions
Performing daily inspections is essential for safe crane operations. By thoroughly examining equipment and evaluating ground conditions before starting work, crews can prevent equipment failures and ground-related accidents. These routine checks are key to spotting problems early.
Complete a Pre-Shift Crane Inspection
Before starting the workday, inspect the crane thoroughly. Test all controls, including joysticks, switches, and emergency stops, to ensure they respond properly. Verify that safety devices, such as load indicators, boom angle sensors, and anti-two-block systems, are functioning as they should.
Examine wire ropes carefully for any signs of damage, like broken wires, kinks, bird caging, or excessive wear. Replace ropes immediately if they show deterioration.
Pay attention to hooks, rigging points, load blocks, and outrigger floats. Look for cracks, deformation, or wear. Confirm that hook latches engage securely and that load blocks rotate freely without obstruction.
Clear the swing radius area of any obstacles, including equipment and personnel. Mark permanent obstacles clearly and plan lifts to avoid any potential contact.
Document each inspection with details like the operator's name, date, time, and any defects identified. Keeping a record not only tracks the condition of the equipment over time but also ensures compliance with safety regulations. A comprehensive pre-shift inspection is a critical step in maintaining a safe work environment.
Once the crane inspection is complete, shift focus to assessing the ground conditions.
Check Ground Stability
The stability of the ground plays a direct role in the crane's safe operation and lifting capacity. Soft, uneven, or sloped surfaces can lead to dangerous situations, such as tip-overs or structural failures.
Start by evaluating soil firmness. Avoid areas with soft, wet, or uneven ground that might not provide adequate support. For example, clay soils can become unstable when wet, and sandy soils often lack the required bearing capacity.
Use a level or inclinometer to measure the slope of the operating area. Most mobile cranes need a level surface within a 1% grade (approximately 1 foot of elevation change per 100 feet of distance) to operate safely. If the slope exceeds this, special setup procedures or additional equipment may be necessary.
To distribute the crane's weight more evenly, use support materials like timber mats, steel plates, or engineered cribbing. Calculate the ground pressure (total crane weight plus load divided by the contact area) and compare it to the soil's bearing capacity. If the pressure exceeds the ground's capacity, additional support materials are required.
For crawler cranes, inspect the tracks to ensure they are in good condition and making full contact with the ground. Check for any soft spots or depressions that could cause the tracks to bridge instead of sitting evenly.
Consider drainage around the crane's operating area. Water can quickly destabilize the ground, turning solid soil into unstable mud. Make sure proper drainage is in place, and monitor conditions closely if rain is expected during operations. A thorough ground assessment is essential to maintain stability throughout the lift.
After completing both equipment and ground inspections, promptly document all findings.
Record Inspection Results
Keeping detailed records of inspections ensures accountability and helps track equipment condition over time.
Use a standardized form to document findings immediately, including the date (MM/DD/YYYY), time, crane ID, operator name, and any specific defects. Be precise in your descriptions (e.g., "hydraulic fluid leak at boom cylinder base, 2 drops per minute"). If critical defects are identified, take the equipment out of service right away.
Establish a defect tracking system to follow issues from discovery to resolution. Assign priority levels to defects based on their impact on safety. Critical defects require immediate attention, while major defects may need monitoring, and minor issues can be addressed during routine maintenance.
When equipment is deemed unsafe, remove it from service until repairs are completed. Attach "Do Not Operate" tags and secure the controls to prevent unauthorized use. Notify maintenance personnel immediately and document the time the equipment was taken out of service.
Store inspection records according to local regulations and company policies. In many jurisdictions, records must be kept for at least one year, though some may require longer retention. Digital storage systems can simplify record-keeping and retrieval. Proper documentation not only ensures operational readiness but also helps maintain compliance with safety standards.
2. Manage Electrical Hazards and Keep Safe Distances
Electrical hazards during crane operations can lead to severe injuries, such as electrocution or burns, and can also damage equipment. To minimize these risks, it’s crucial to maintain safe distances from power lines and implement protective measures.
Set Minimum Approach Distances
Start by identifying all power lines in the work area. Ensure that no part of the crane, load line, or load comes within 20 feet of an energized power line. Always assume power lines are energized unless the utility company confirms they are deenergized and visibly grounded.
To ensure safety, apply one of the following precautions:
- Request the utility company to deenergize and ground the power line.
- Keep a minimum distance of 20 feet between the crane (including load and load line) and the power line.
- Use OSHA's Table A guidelines to determine clearance based on the line’s voltage:
Up to 50 kV
• Minimum Clearance Distance: 10 feet
Over 50 to 200 kV
• Minimum Clearance Distance: 15 feet
Over 200 to 350 kV
• Minimum Clearance Distance: 20 feet
Over 350 to 500 kV
• Minimum Clearance Distance: 25 feet
Over 500 to 750 kV
• Minimum Clearance Distance: 35 feet
Over 750 to 1,000 kV
• Minimum Clearance Distance: 45 feet
For power lines exceeding 1,000 kV, clearance distances should be defined by the utility owner or a qualified registered professional engineer. Unless confirmed otherwise by the utility owner, always assume power lines are uninsulated.
Whether following the 20-foot rule or Table A distances, strengthen safety by conducting planning meetings, using non-conductive tag lines, and setting up warning barriers. These steps help ensure ongoing vigilance during crane operations.
Use Spotters and Deenergize Power Lines When Possible
Whenever possible, collaborate with utility companies to deenergize and ground power lines. This significantly reduces the risk of electrical hazards and creates safer working conditions. If deenergization isn’t feasible, assign a dedicated spotter to monitor the space between the crane and power lines. The spotter should have a clear view of both the crane and the lines and maintain constant communication with the operator.
To further enhance safety, consider using tools like proximity alarms or range control devices. Additionally, when guiding loads near power lines, rely exclusively on non-conductive tag lines. These measures help maintain a secure environment around the worksite.
Block Off Danger Zones
Define and enforce exclusion zones around crane operations near power lines. Use elevated warning lines or barricades to clearly mark these areas and prevent unauthorized personnel from entering. Establishing these boundaries ensures a safer workspace for everyone involved.
3. Use Proper Rigging and Stay Within Load Limits
Safe crane operations hinge on proper rigging and staying within load limits. Overloading a crane doesn’t just risk equipment failure - it can lead to accidents and expensive project delays. That’s why it’s critical to understand your crane’s capacity and use the right rigging techniques for each lift.
After completing equipment inspections and addressing potential hazards, the final piece of the safety puzzle is ensuring proper rigging and load control.
Check Load Weight and Center of Gravity
Before any lift, determine the load’s total weight and confirm it falls within the crane’s capacity. A crane’s capacity is the maximum weight it can safely handle under specific operating conditions. Always refer to the manufacturer’s load chart, which outlines these maximum capacities based on factors like boom length and angle. OSHA regulations (OSHA 1926.1417) require that these load charts remain visible in the crane cab at all times.
To ensure safe lifting, verify the load’s weight, radius, and center of gravity against the load chart. Keep in mind that elements such as boom length, boom angle, counterweights, and ground stability all play a role in determining capacity. For instance, a longer boom or a lower angle typically decreases the safe load limit. While modern cranes often feature onboard load calculation software, always cross-check those results with the manufacturer’s load chart for accuracy.
Inspect Rigging Equipment
Rigging equipment acts as the vital connection between the crane and the load, so inspecting it thoroughly is non-negotiable. Examine all slings, shackles, hooks, and other rigging components for signs of wear or damage. For wire rope slings, look for broken wires, kinks, or corrosion. Synthetic slings should be checked for cuts, burns, or other visible damage. Ensure all rigging components have current inspection tags and are rated for the specific load requirements.
Pay special attention to hooks and shackles, as these pieces often bear the brunt of the stress. If you notice cracks, excessive wear, or deformation, replace them immediately. Environmental factors like wind or harsh weather can also impact rigging performance and lifting capacity, so consider these conditions when planning the lift. Once the rigging is confirmed to be in good condition, prioritize clear communication to ensure the lift proceeds safely.
Set Up Clear Communication Between Operators and Riggers
Strong communication is just as important as secure rigging when it comes to preventing errors during a lift. Establish clear communication protocols that everyone on the team understands. Use standardized hand signals that comply with OSHA guidelines, and ensure the crane operator has an unobstructed view of the signal person. If visual contact isn’t possible due to distance or obstacles, rely on two-way radios with designated channels.
Before starting the lift, hold a pre-lift briefing to review the plan, address potential hazards, and assign roles. Designate a qualified signal person to maintain constant communication with the operator while keeping a clear view of both the load and the crane’s movements. Test all communication devices beforehand and have backup methods ready. This not only reduces the risk of accidents but also makes the entire lifting process more efficient and seamless.
sbb-itb-6be7c12
4. Set Up Exclusion Zones and Control the Swing Radius
Managing exclusion zones is critical to keeping workers safe from the dangers of a crane's rotating superstructure. Clearly defining and marking these areas helps create a safer construction site.
Mark and Secure Hazard Zones
Use control or warning lines to outline areas where the crane's rotation could pose a risk to workers. It's essential to mark all potential danger zones within the crane's swing radius to ensure no hazardous spots are overlooked. If physical barriers aren't an option, combine warning signs - like "Danger - Swing/Crush Zone" - with high-visibility markings on the crane and surrounding equipment.
Train all workers to identify struck-by and pinch/crush hazards near the crane. Make sure they understand the markings and the risks involved. Clearly defined exclusion zones allow teams to better manage the crane's swing radius, reducing the chance of accidents and promoting a safer work environment.
5. Use Qualified Personnel and Prepare for Emergencies
Safe crane operations rely heavily on having skilled personnel and well-thought-out emergency protocols. Proper qualifications and preparation can make all the difference between a job that goes smoothly and one that ends in disaster.
Check Personnel Qualifications
Crane operators must meet OSHA Subpart CC certification requirements, which include training, certification, and employer evaluations. Certification can be obtained through state or local government programs that align with OSHA standards or through organizations like the National Commission for the Certification of Crane Operators (NCCCO). These certifications are valid for 5 years and are transferable between employers.
However, certification alone isn’t enough. Employers are required to evaluate operators to ensure they possess the skills and knowledge specific to the equipment they’ll be using. This includes familiarity with safety devices, operational aids, software, and the crane’s size and configuration.
To qualify, operators must meet physical and medical standards and pass both written and practical exams. These tests cover critical topics such as controls, load and capacity calculations, power line safety, site hazards, and hands-on operation.
Rigging personnel have their own set of qualifications. OSHA mandates that riggers be "qualified", meaning they must have a recognized degree, certificate, or sufficient training and experience to address rigging-related challenges. While employers determine job-specific qualifications, formal certifications like NCCCO Rigger Level I or Level II provide a reliable measure of competence.
For NCCCO Rigger Level I certification, candidates must be at least 18 years old, possess a high school diploma or GED, complete accredited training, and pass both written and practical exams. The written test assesses knowledge in rigging activity scope, inspection procedures, and technical execution, while the practical test focuses on pre-use inspections, rigging hitches, connections, and basic knots. Like operator certifications, these credentials expire after 5 years and require renewal.
Keep all certifications, including operator licenses, rigger credentials, and signal person qualifications, easily accessible on-site for inspections. This ensures compliance and readiness for any job-specific requirements.
Hold Pre-Lift Briefings
Once personnel qualifications are verified, pre-lift meetings are essential for aligning the team. These discussions ensure that everyone understands their role and the specific risks associated with the lift.
During the briefing, review load details such as weight, dimensions, center of gravity, and the planned lift path. Identify potential obstacles, overhead hazards, and areas where extra caution is required. Establish clear communication protocols, designating who will give signals and confirming that all team members understand standard hand signals or radio procedures.
Weather conditions should also be reviewed, including wind speed limits, visibility requirements, and other environmental factors that could impact the lift. Emergency procedures must be addressed, ensuring everyone knows how to stop the lift if necessary, where to go in case of an incident, and who to contact for assistance.
Document these meetings and require attendance from all key personnel. Thorough planning during pre-lift briefings can help prevent accidents and delays.
Create an Emergency Plan
An emergency plan is a critical part of crane operations, ensuring the team is prepared for unexpected situations. Alongside qualified personnel and detailed briefings, a well-rehearsed emergency plan can protect lives and equipment.
Develop a site-specific emergency plan tailored to the unique hazards of your project. This plan should include procedures for immediate shutdowns in scenarios like equipment failures or medical emergencies. Outline methods for safely lowering loads and securing the crane in various situations.
Keep an updated list of emergency contacts, including local services, nearby hospitals, and utility companies. Post these contacts in the crane cab and job site office. Include technical support lines for crane manufacturers and rental companies for quick assistance with mechanical issues.
Regular emergency drills are a must. Practice scenarios like power line contact or load drops so every team member knows their role when time is critical. Update the plan as site conditions evolve, and ensure new workers are trained on emergency protocols during orientation.
Make evacuation routes and assembly points clear and accessible. These routes should account for the crane’s swing radius and potential fall zones. Keep them unobstructed throughout the project and ensure workers are familiar with multiple exit paths for safe evacuation.
Conclusion: Prioritize Safety for Effective Crane Operations
By applying these five key strategies, you can help safeguard workers and keep projects running smoothly. Conducting daily inspections and assessing ground conditions can identify potential problems before they escalate into serious risks. Maintaining safe distances from electrical hazards minimizes the chance of accidents. Ensuring proper rigging and load management keeps equipment functioning within safe limits. Establishing exclusion zones and controlling the swing radius prevents unauthorized access to dangerous areas. Finally, relying on qualified personnel and having a solid emergency plan ensures quick and effective responses when needed. Together, these measures create a comprehensive safety net to address common construction site hazards.
When followed consistently, these safety practices become second nature, reducing the mental strain on operators and riggers. This allows teams to focus on the technical aspects of their work, while safety protocols operate seamlessly in the background.
Start incorporating these practices into your daily routine today. Whether it’s through thorough inspections or enhanced pre-lift briefings, making safety a cornerstone of every operation protects not just workers and equipment, but also your project’s timeline.
FAQs
What should be covered in a pre-lift meeting to ensure crane safety on a construction site?
A pre-lift meeting plays a crucial role in maintaining safety during crane operations. Start by going over the lift plan to ensure everyone is on the same page. Verify that the crane has successfully passed all necessary inspections and double-check the rigging to confirm it's set up correctly. It's also important to review the load details, including its weight and balance, and to pinpoint any hazards in the work area that could pose a risk.
Every team member should have a clear understanding of their roles and responsibilities during the lift. Before beginning, conduct a thorough walk-around inspection of both the crane and the site to catch any last-minute issues. Lastly, establish clear communication protocols to minimize confusion and avoid errors. These steps collectively help create a safer and more efficient construction process.
How do I establish safe exclusion zones around a crane to prevent accidents?
To establish safe exclusion zones around a crane, start by evaluating key factors like the crane’s size, the weight of the load, and the site’s conditions. A good rule of thumb is to keep at least 10 feet of clearance from the crane’s swing radius and any potential hazards, such as the rotating superstructure or suspended loads. If the load is particularly heavy or the lift is especially tall, expand the exclusion zone to match the increased risk.
Mark these areas clearly using physical barriers like cones, ropes, or caution tape, and back them up with visible signage to deter unauthorized entry. During pre-shift safety briefings, make sure all workers understand these boundaries and the importance of respecting them. Regularly monitor the site to account for changes in conditions or operations that could affect the safety of the zone. Maintaining these exclusion zones is essential for protecting workers and ensuring a safe construction environment.
What certifications and training are required for crane operators and rigging personnel to meet safety standards in the U.S.?
In the United States, anyone working as a crane operator or rigging personnel must be at least 18 years old and hold certifications from accredited organizations like the National Commission for the Certification of Crane Operators (NCCCO). These certifications verify that operators have the necessary skills and expertise to handle cranes safely.
On top of that, OSHA regulations mandate formal training, evaluations, and proper certification for crane operators. These requirements are designed to align with federal safety standards, reducing risks and promoting safer practices on construction sites.
Related Blog Posts
Blogs, calculators, and other content on the TDS blog is for educational purposes only and does not constitute crane or rigging advice. For information specific to your situation, please contact us for an estimate or consultation.
Related Articles
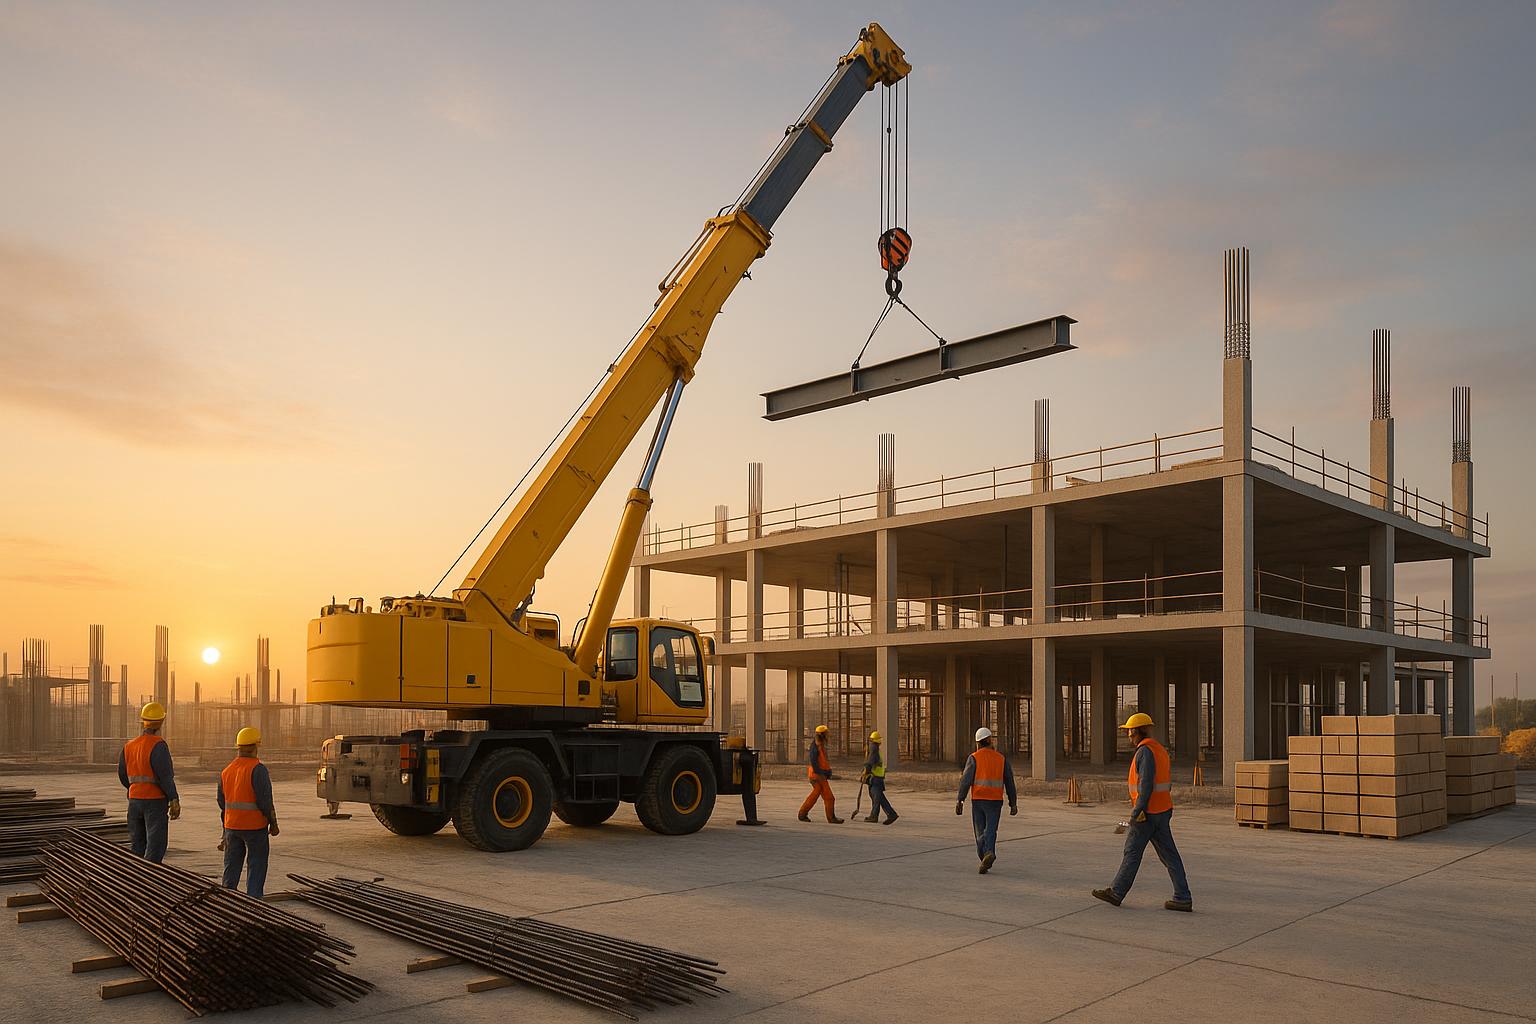
How to Choose the Right Crane for Your Project
Selecting the right crane for your project is essential for safety, efficiency, and cost management. Learn how to evaluate your needs and site conditions.

Pre-Lift Safety Checklist for Crane Operations
Explore essential pre-lift safety checks to ensure safe crane operations and minimize risks on site.
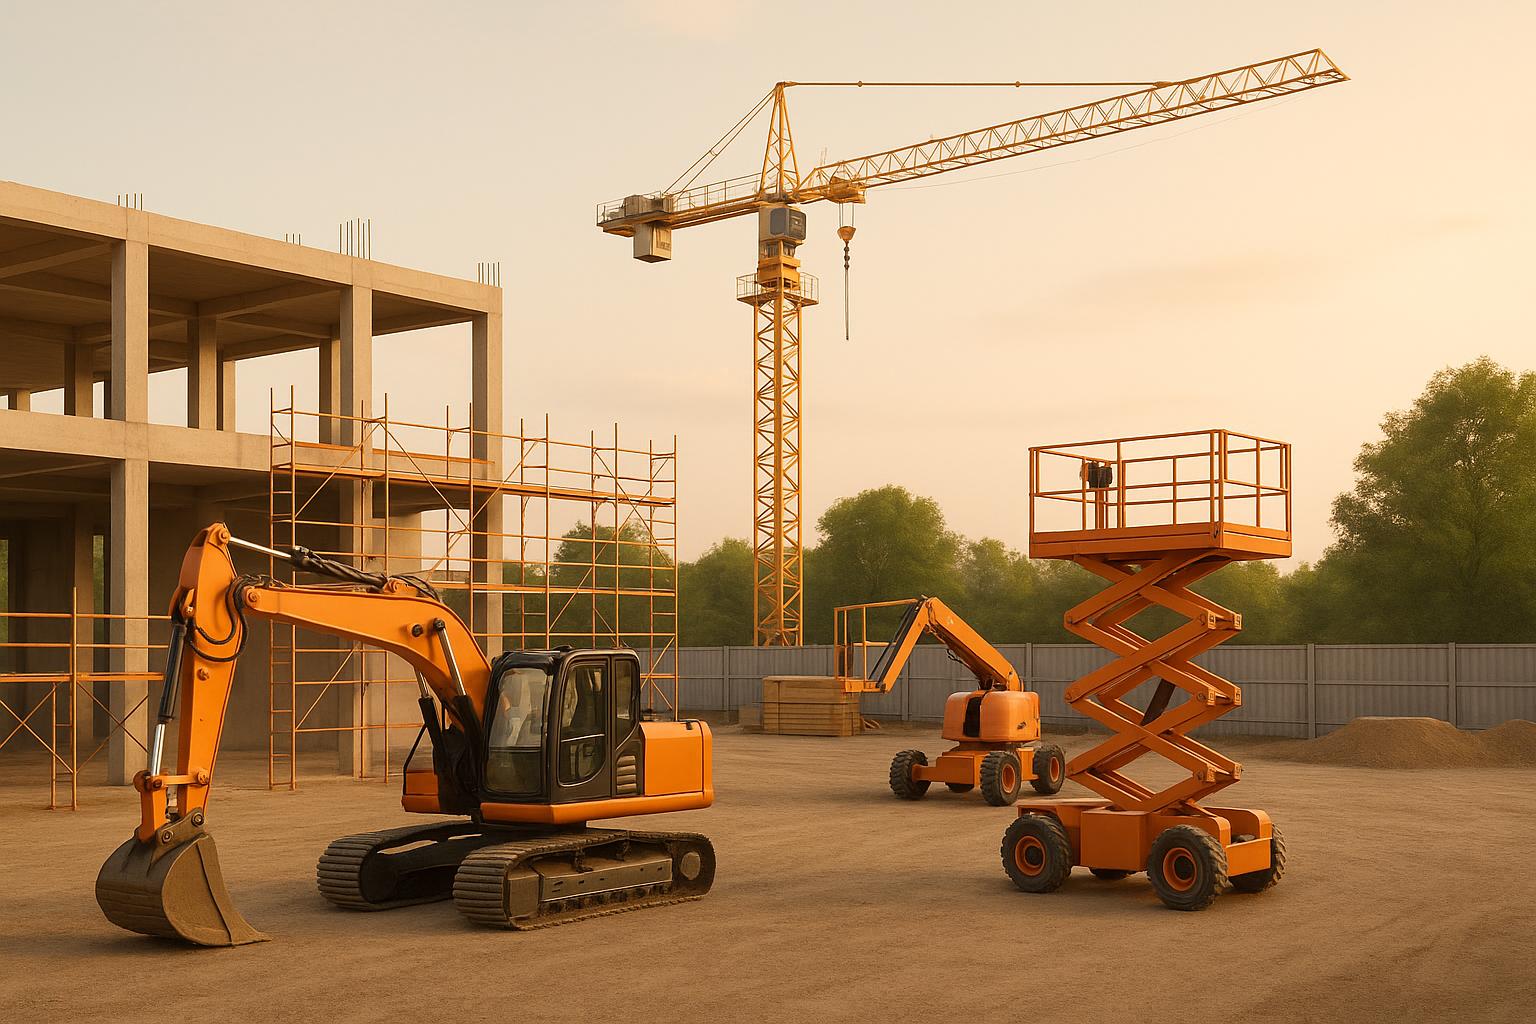
How to Match Equipment Rentals to Project Needs
Learn how to effectively match equipment rentals to your project needs, ensuring safety, efficiency, and budget adherence throughout.
